Beginner Lash Mapping: How to Map Your Own Eyes at Home (No Salon Required)
If you've searched "lash mapping for beginners," chances are most of what came up wasn't actually written for you. It's written for trainee lash techs: foam tape on a client's eyelid, tweezers isolating someone else's natural lashes, a certification course at the bottom of the page. Useful if you're training to work in a salon. Not so useful if you're standing in front of your own bathroom mirror trying to figure out which lash goes where.
So let's do this properly: lash mapping for people doing their own lashes, on their own face, with their own two hands.
Jump to a section:
- What Lash Mapping Actually Is (and Why It's Worth 5 Minutes)
- The Three Things You're Actually Deciding
- How to Map Your Own Eyes, Step by Step
- Three Beginner-Friendly Maps to Try
- Choosing Your Length: It's All About Your Eyelid Space
- Mistakes Almost Everyone Makes on Their First Map
- Practice Makes It Second Nature
What Lash Mapping Actually Is (and Why It's Worth 5 Minutes)
Lash mapping is just planning out which lash length, curl, and thickness goes in which part of your eye before you start applying. Skip it and you'll end up with lashes that are too long at the inner corner (hello, poking your eyebrow), too short at the outer corner, or just… uneven. Do it once, even roughly, and every set after that gets faster and better.
The good news: because you're doing this on yourself, you already have the biggest advantage a lash tech never gets. You can see exactly how it looks as you go, adjust in real time, and you know your own eyes better than anyone.
The Three Things You're Actually Deciding
Every lash map comes down to three variables. Get comfortable with these and the rest is just combining them.
Length: how long each lash segment is, usually in millimetres. Shorter at the inner corner, building up toward the middle or outer third, depending on the look you want.
Curl: how much of a curve the lash has. At Underlash, we only work with one curl, a C curl, and that's after a lot of testing. Because the lash sits under your natural lash, a C shaped curl gave the most comfortable and seamless result every time, so this is one thing you don't need to think about. We've already taken the guesswork out for you.
Thickness: how fine or bold the lash strand is. Finer strands look more natural and are more forgiving for a first attempt; thicker strands make more of a statement but show any unevenness more too.
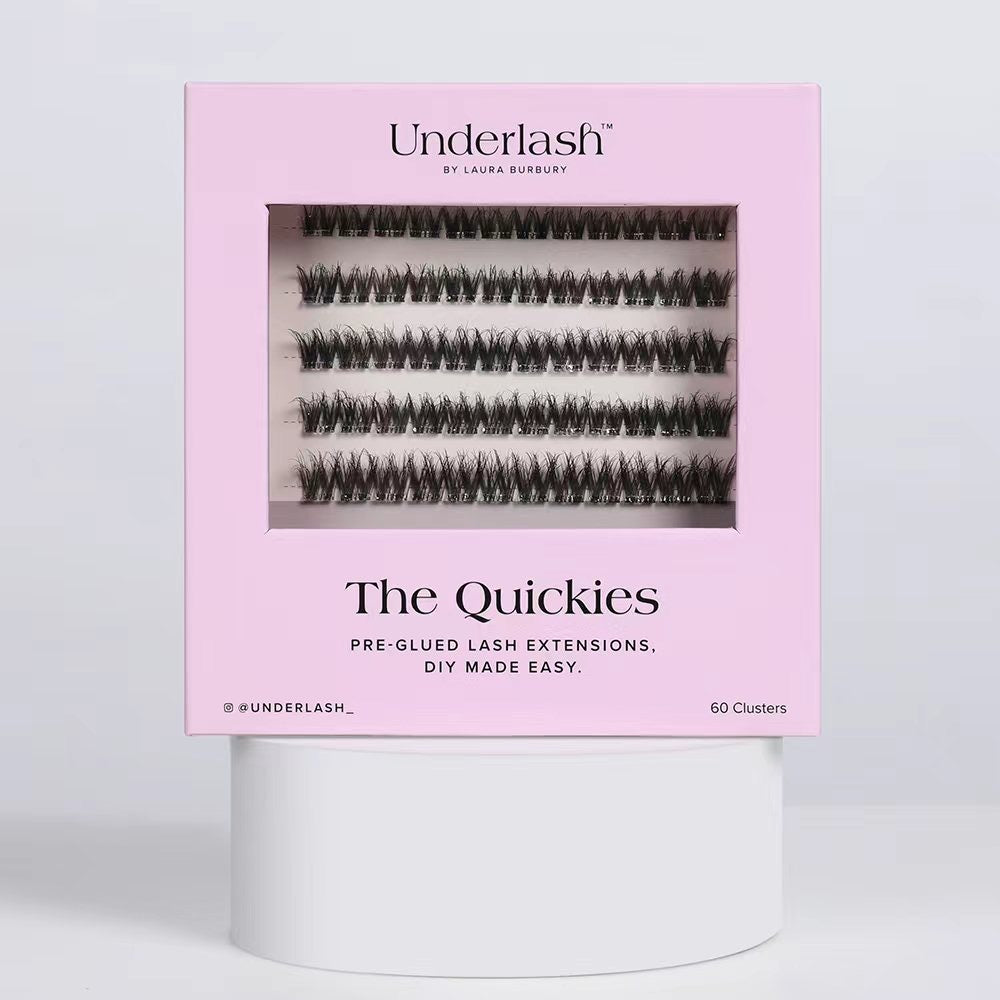
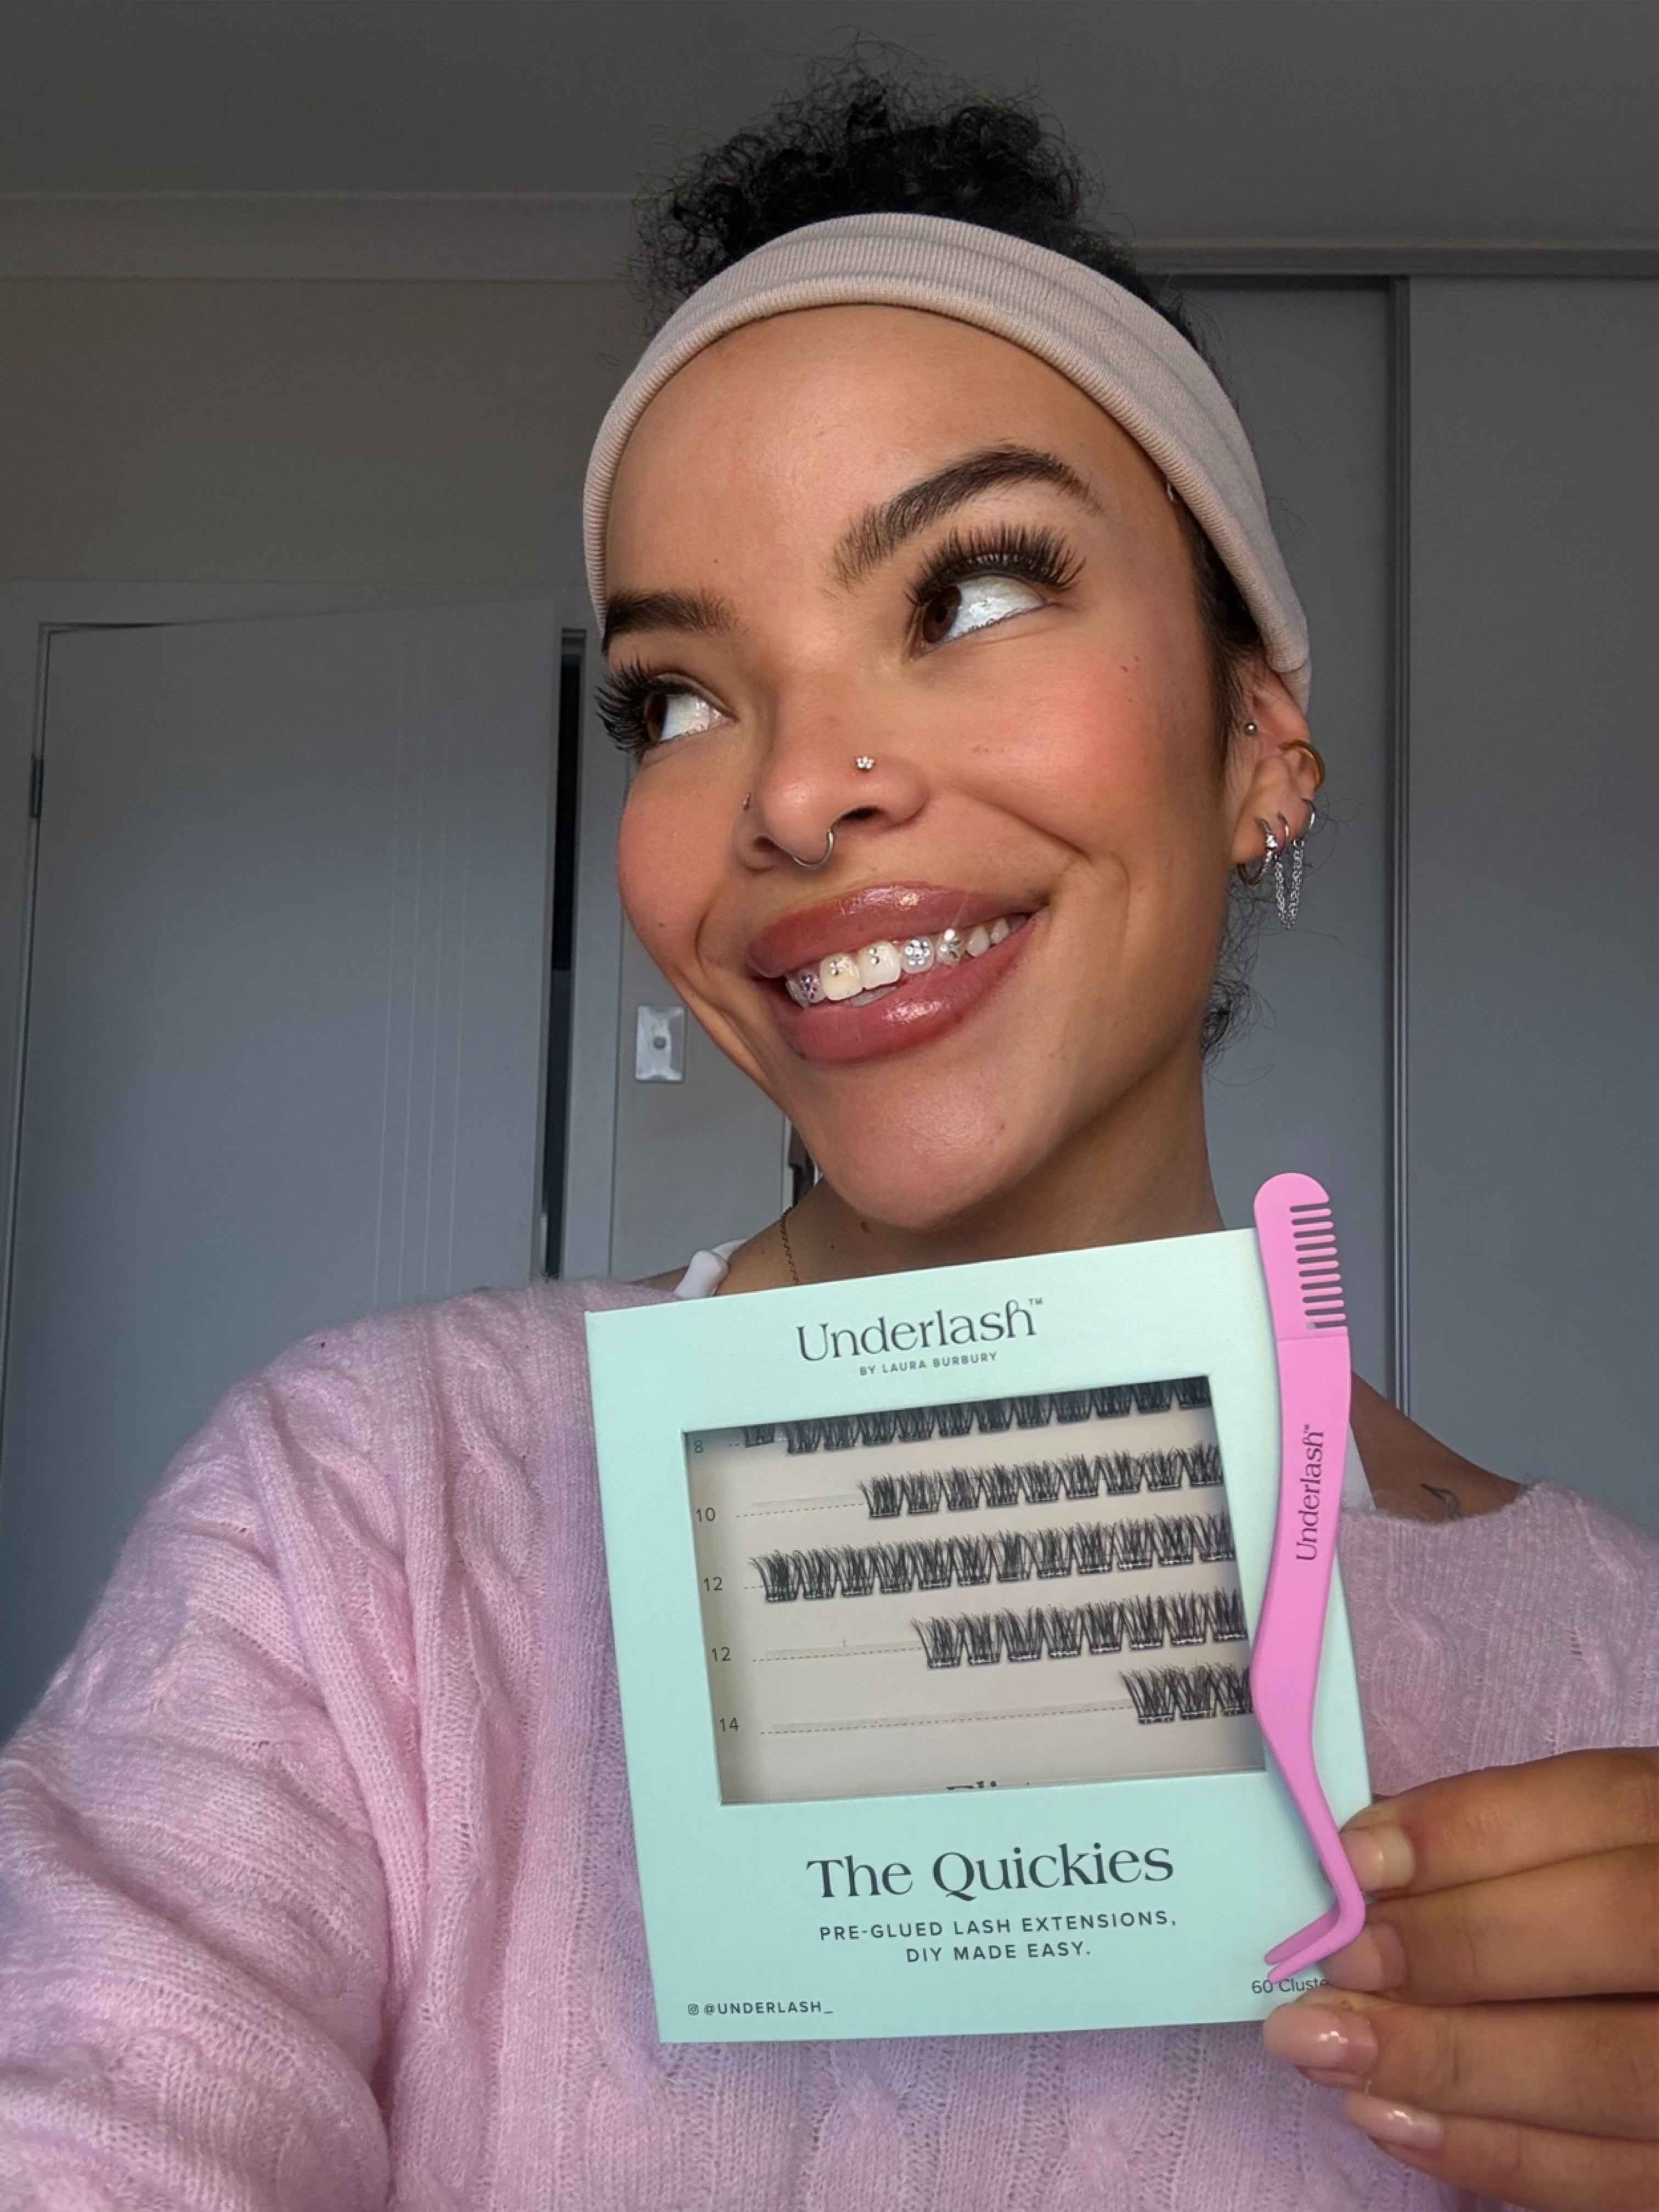
With DIY lashes like Underlash's segments, you're not agonising over dozens of individual extensions. You're working with pre-arranged sections, which makes mapping genuinely simple even the first time you try it.
How to Map Your Own Eyes, Step by Step
- Set up your mirror properly. A flat, well-lit mirror at eye level, seated, elbows supported on a table. Sounds fussy, but a wobbly hand is the #1 reason first attempts go sideways (pun intended).
- Do one eye fully before touching the other. It's tempting to alternate, but finishing one side completely gives you a reference to match the second eye to, rather than guessing at both at once.
- Split your eyelid into three rough zones: inner corner, middle, outer corner. You don't need tape or markers for this (that's a salon habit, not a DIY necessity), just eyeball it, literally.
- Place your shortest length at the inner corner, working up to your longest in the middle-to-outer area, then slightly shorter again right at the outer corner if you want a soft finish, or keep building outward if you want a wing.
- Use the same amount of cluster on each eye. Sometimes one eye is naturally longer or bigger than the other, but if you dress them differently to try and compensate, it tends to draw more attention to the size difference rather than balancing it out. Keep your map consistent across both eyes.
- Step back from the mirror periodically. What looks uneven at 10cm away often reads as perfectly balanced from normal viewing distance. Don't judge the whole look up close.
Want to see it in action? Watch our full video tutorial on how to apply for a step-by-step visual walkthrough.
Three Beginner-Friendly Maps to Try
You don't need to invent your own mapping style for your first few goes. Start with one of these and adjust once you know how your eyes take to it.
The Natural Map: shortest lashes at the inner corner, gradually lengthening to a peak in the centre of the lid, then tapering slightly at the outer corner. Mimics how lashes naturally grow. The safest starting point and the easiest to make look effortless. For example, 10mm / 12mm / 12mm / 10mm.
The Winged Map: same build-up through the centre, but keep lengthening all the way to the outer corner instead of tapering off. Gives a lifted, cat-eye finish, great if you want something a little more "done" without changing your everyday routine. For example, 8mm / 10mm / 12mm / 12mm.

The Open-Eye Map: slightly longer lashes concentrated in the centre of the lid rather than the outer corner, which draws attention to the middle of the eye and can make eyes look bigger and more awake. A nice option for daytime wear.
Whichever you pick, the difference between "salon result" and "obviously DIY" almost always comes down to the transitions. Avoid jumping straight from a short length to a long one next to it. Smaller steps between lengths blend far better than big jumps.
Choosing Your Length: It's All About Your Eyelid Space
Length isn't really a "longer equals more dramatic" decision. It comes down to how much eyelid space you actually have to work with.
Eyelid space is the visible skin between your lash line and your crease when your eye is open naturally, not scrunched or held wide. Some people have a lot of it, so longer lashes have room to sit properly. Others have less visible space, think hooded eyes, monolids, or smaller set eyes, and the same long length can end up brushing the brow bone, feeling heavy, or curling downward instead of lifting.
To check yours: look straight ahead in a mirror with your eyes relaxed. If you can see a good amount of skin between your lash line and your crease, you've got more room to build length, especially through the middle and outer part of your lid. If your lid space is minimal or mostly tucked away, shorter to mid lengths will sit better and still open the eye up without weighing it down.

As a general guide: more visible lid space means you can lean into your longest lengths across more of the lid. Less visible lid space means keeping your longest length shorter overall and letting the shape (like the Winged or Open-Eye maps above) do the work of opening the eye, rather than relying on sheer length.
This is really the biggest reason a lash map that looks amazing on someone else might not translate directly onto you. It's not really about "eye shape" in the abstract, it's about how much physical space you're working with.
Mistakes Almost Everyone Makes on Their First Map
Going too long at the inner corner: it's the most common beginner instinct and the one that ages a look the fastest. When in doubt, size down at the inner third.
Mapping both eyes at once: resist it, even though it feels efficient. One eye, fully finished, then use it as your template.
Not accounting for your natural lash line: your map should follow the shape of your eye, not a generic diagram. If your outer corner naturally droops or lifts, let your map work with that rather than against it.
Rushing the first attempt: your first mapped set will almost certainly take longer than you expect. That's normal, and it gets dramatically faster by your second or third go.
Practice Makes It Second Nature
Like most things you do on yourself rather than someone else, the first attempt is the hardest and every one after gets easier. Try one map, see how it wears over the following days, and adjust next time based on what you'd change. That's really the whole system. There's no exam at the end of it, just a look you get better at making your own.
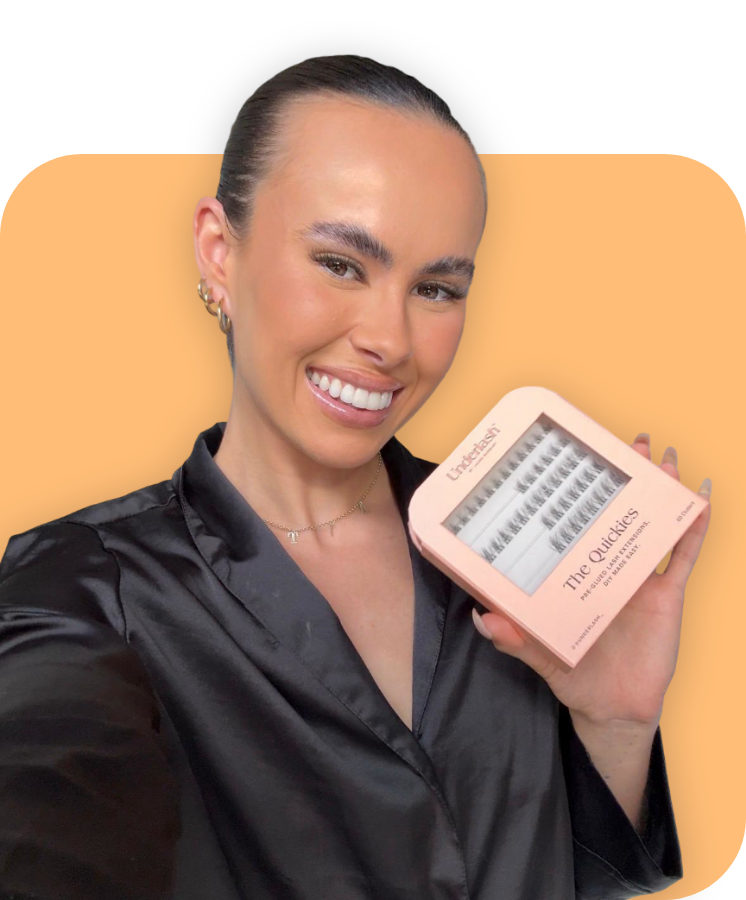
If you're mapping your first set and want lashes that are genuinely built for doing this yourself (pre-arranged, no glue faff, no salon appointment), The Quickies are the easiest place to start, or go with the OG Underlash bond-and-seal range if you want a longer-wearing set once you've got your mapping down.