


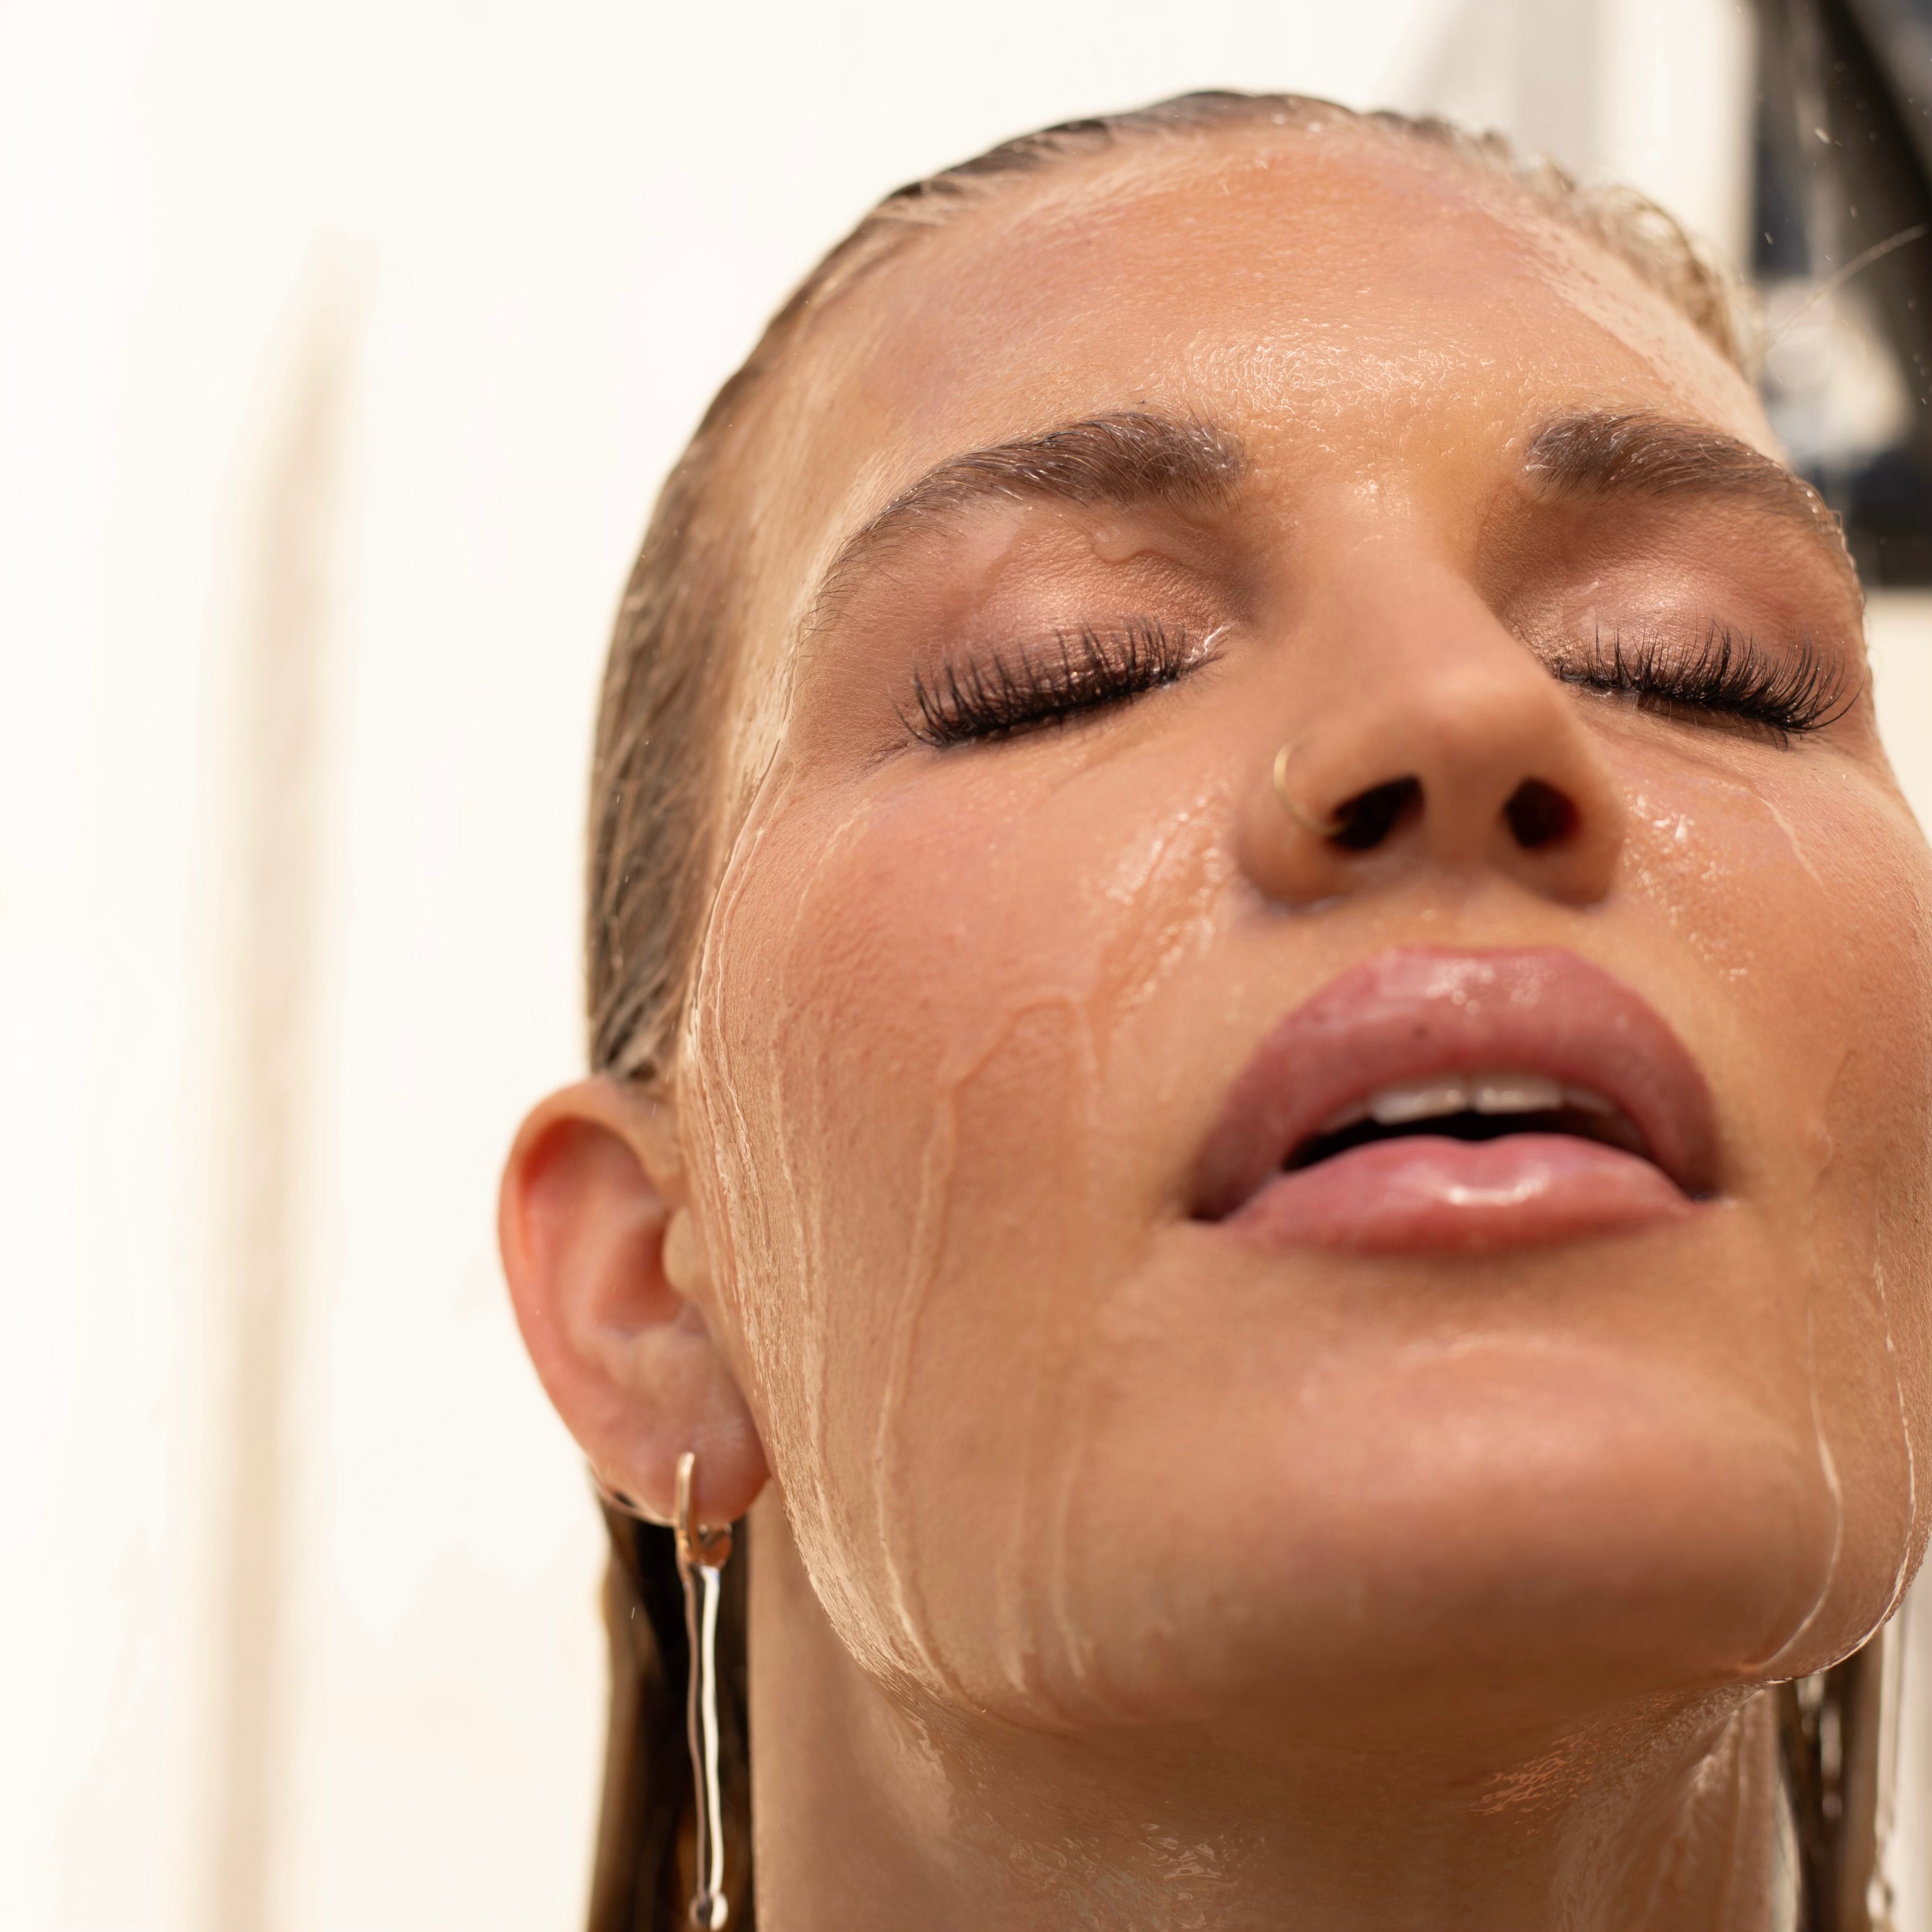


These look really great and stay on for ages. The first few applications were a bit of a learning curve but after getting the hang of it the application is fast and easy.
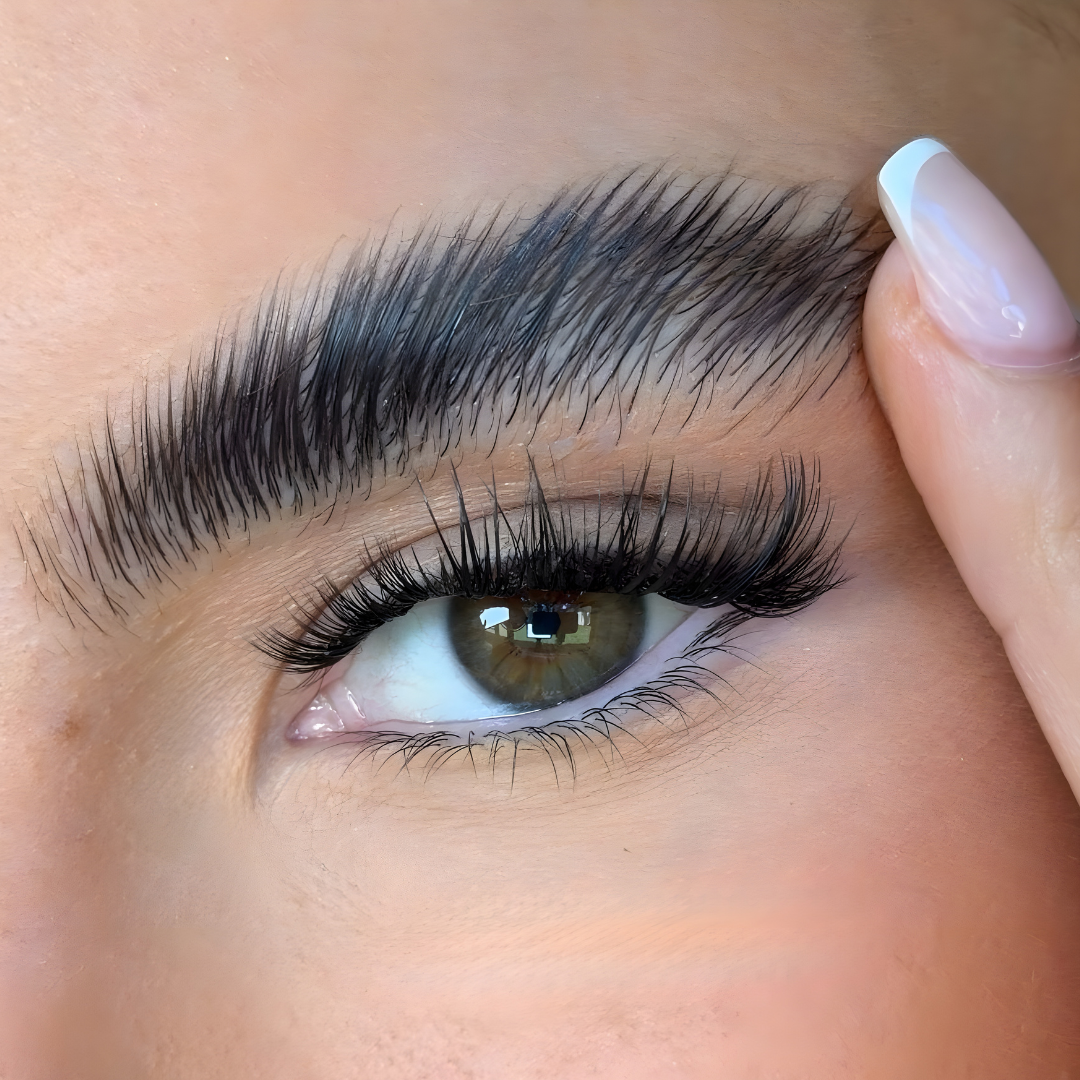
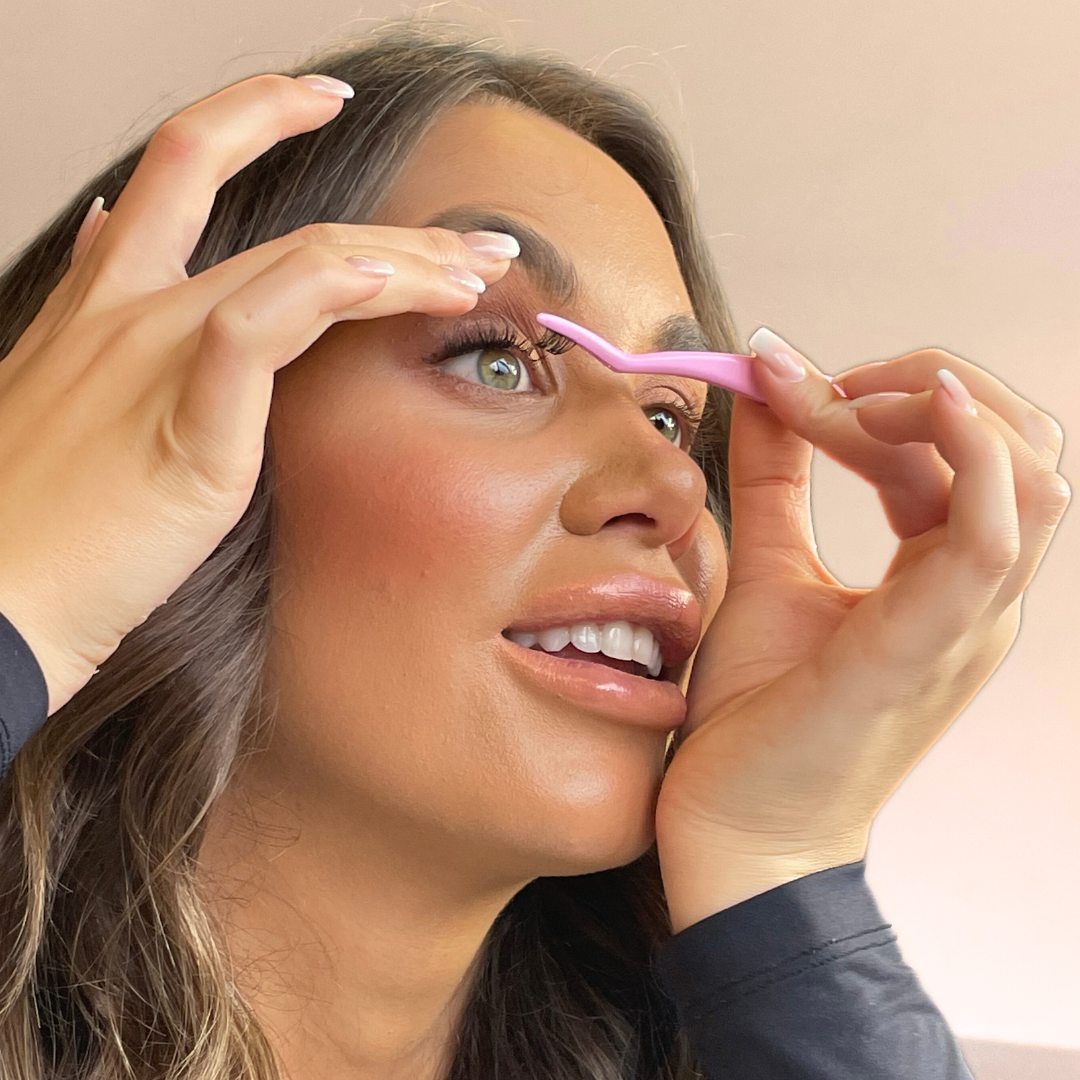
Easy to use and look natural whilst giving a bit of glam! Looooove
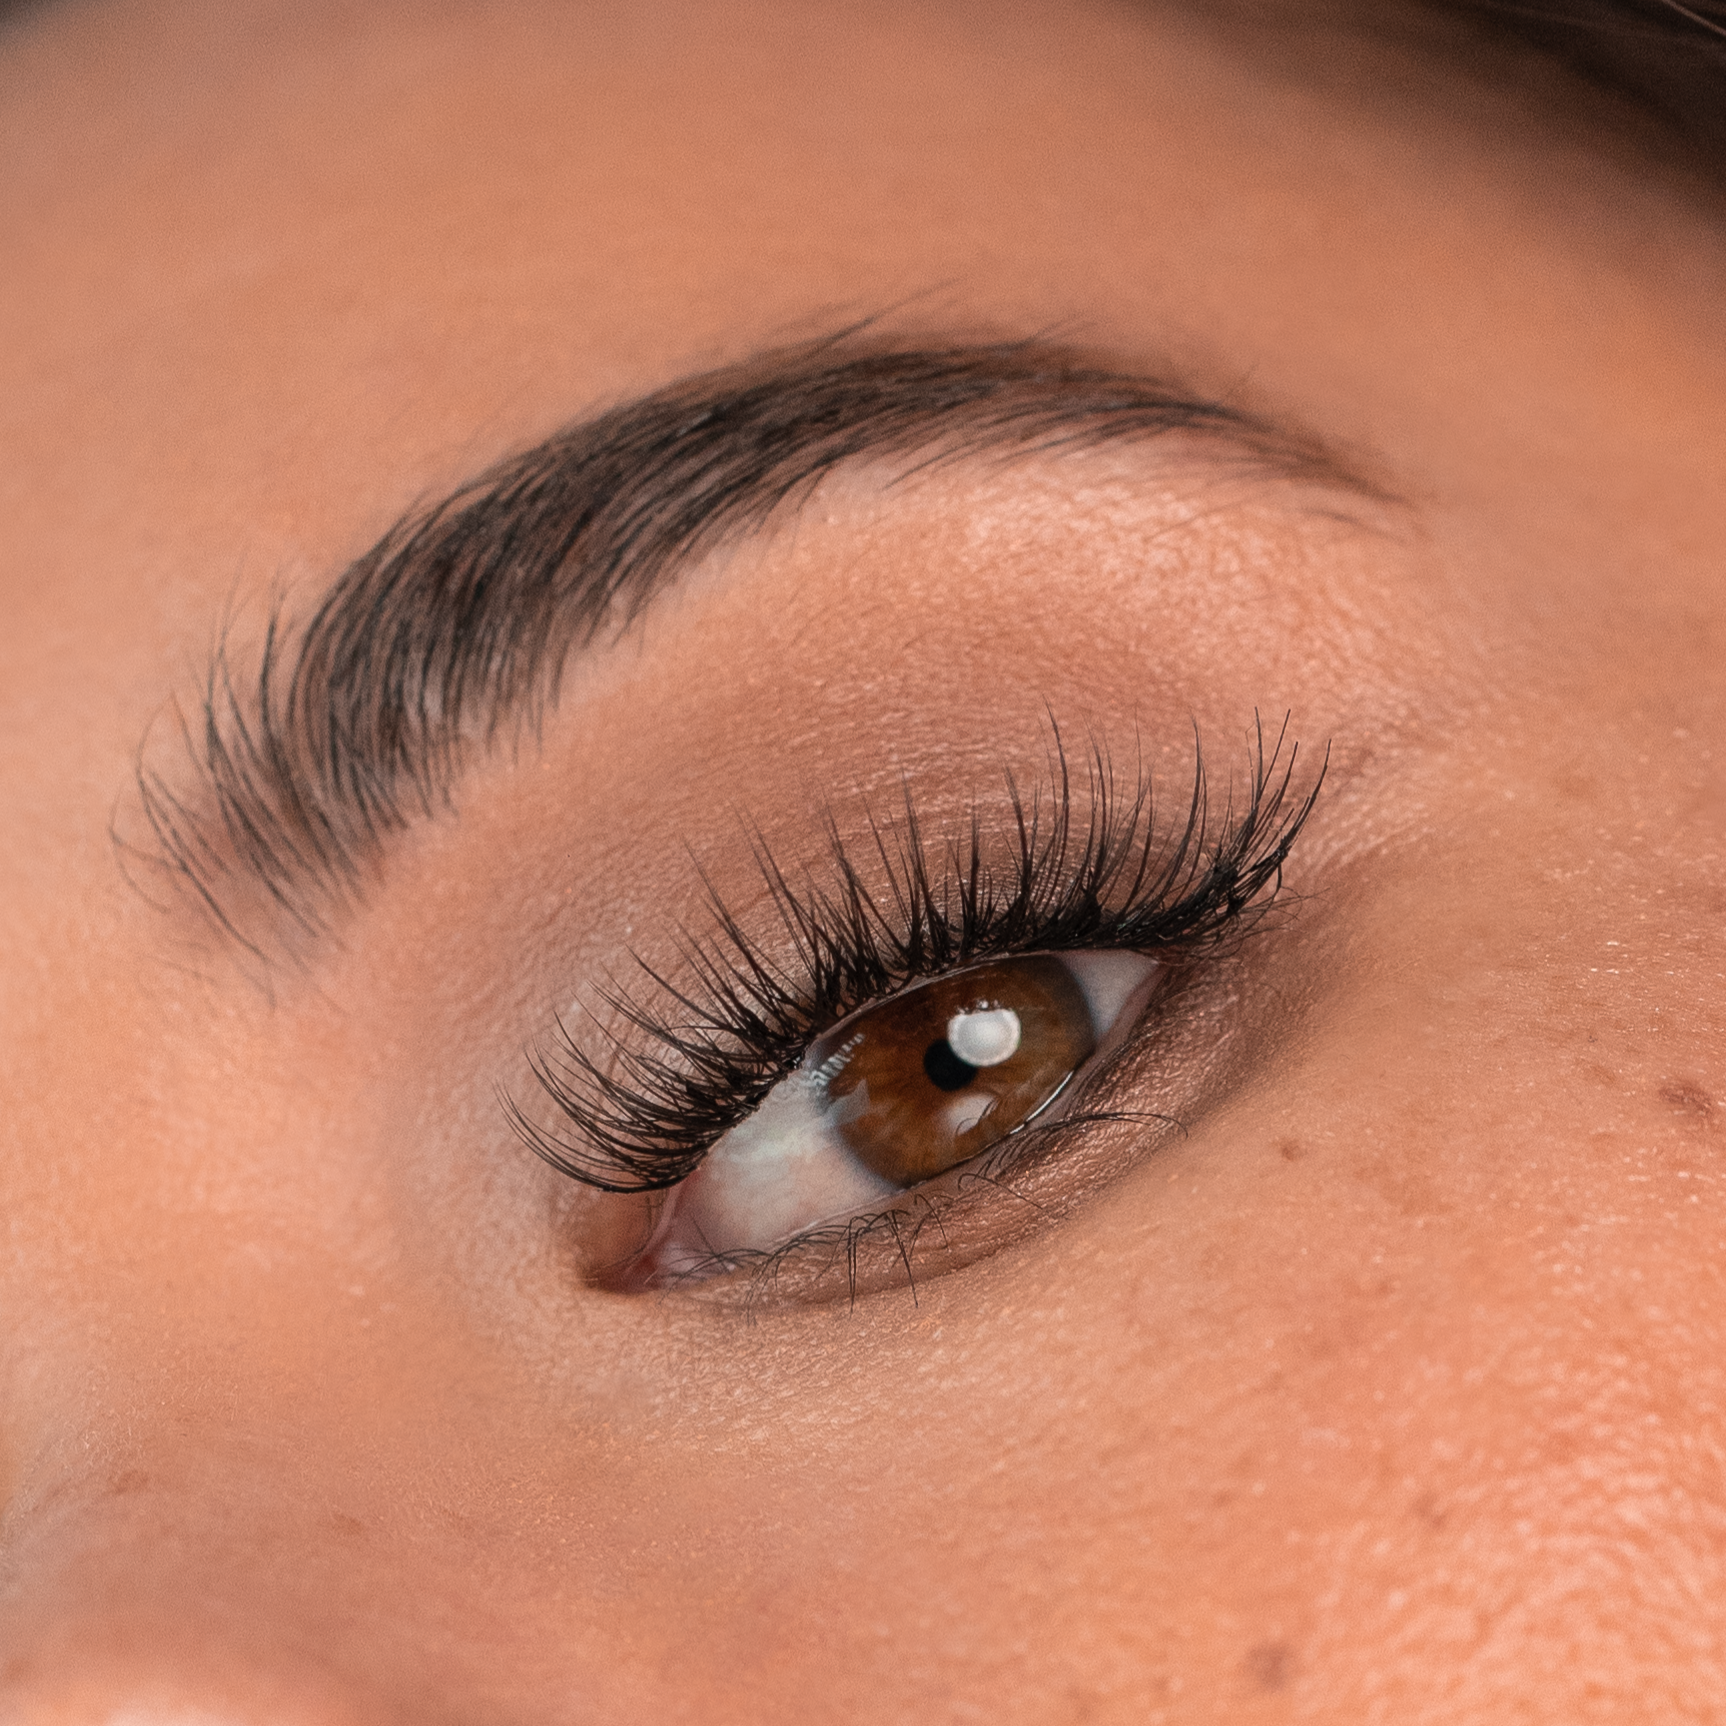
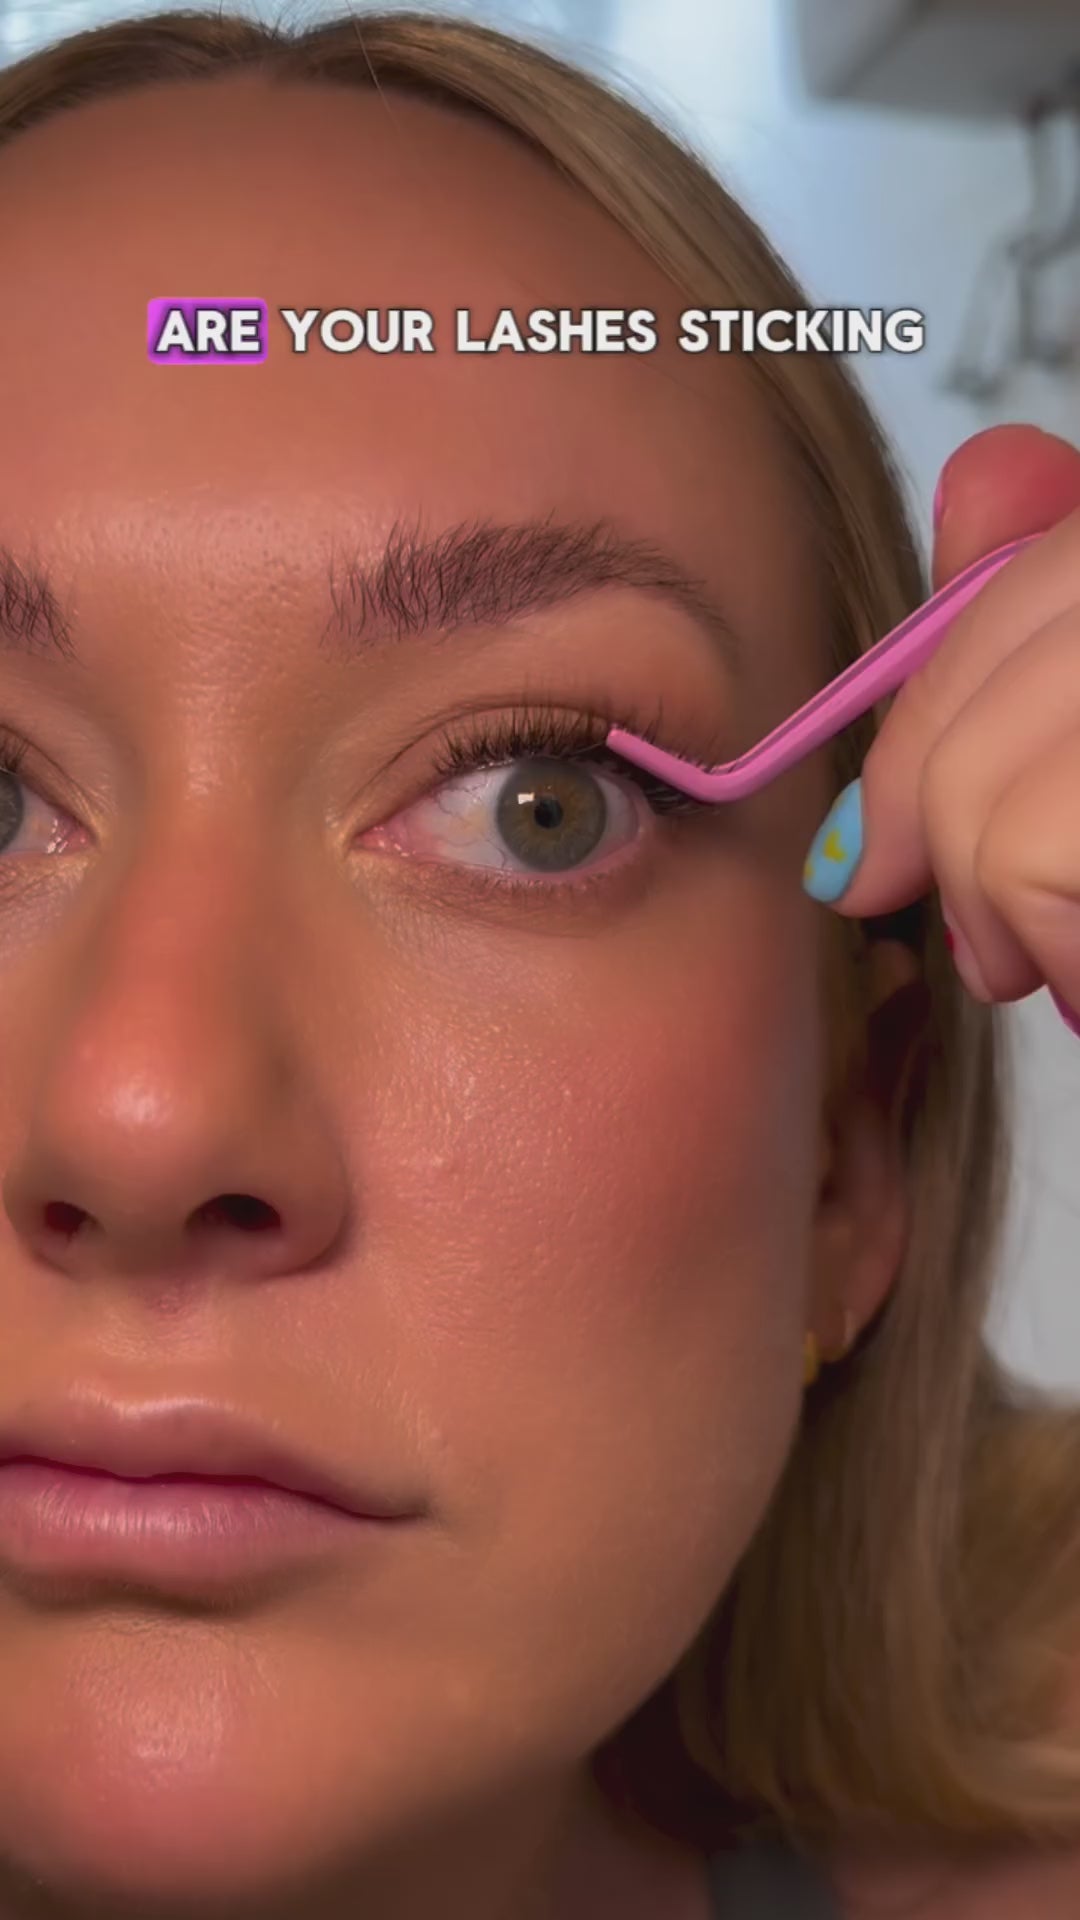
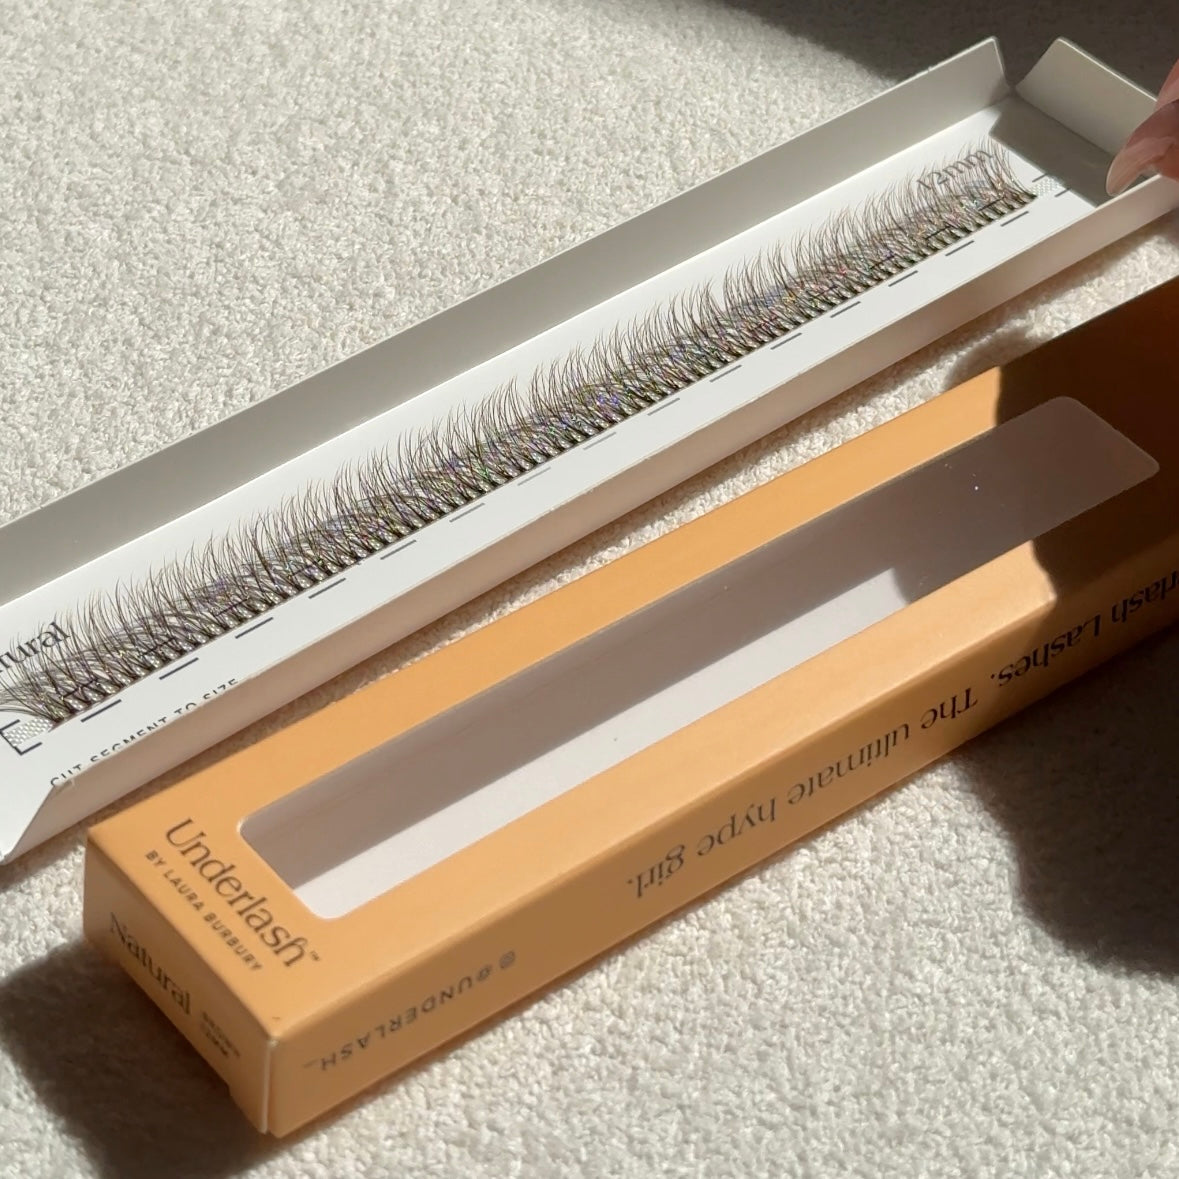
So easy to do, and so natural by sitting under the lash instead of over the lash. Love it <3


