How to apply Underlash
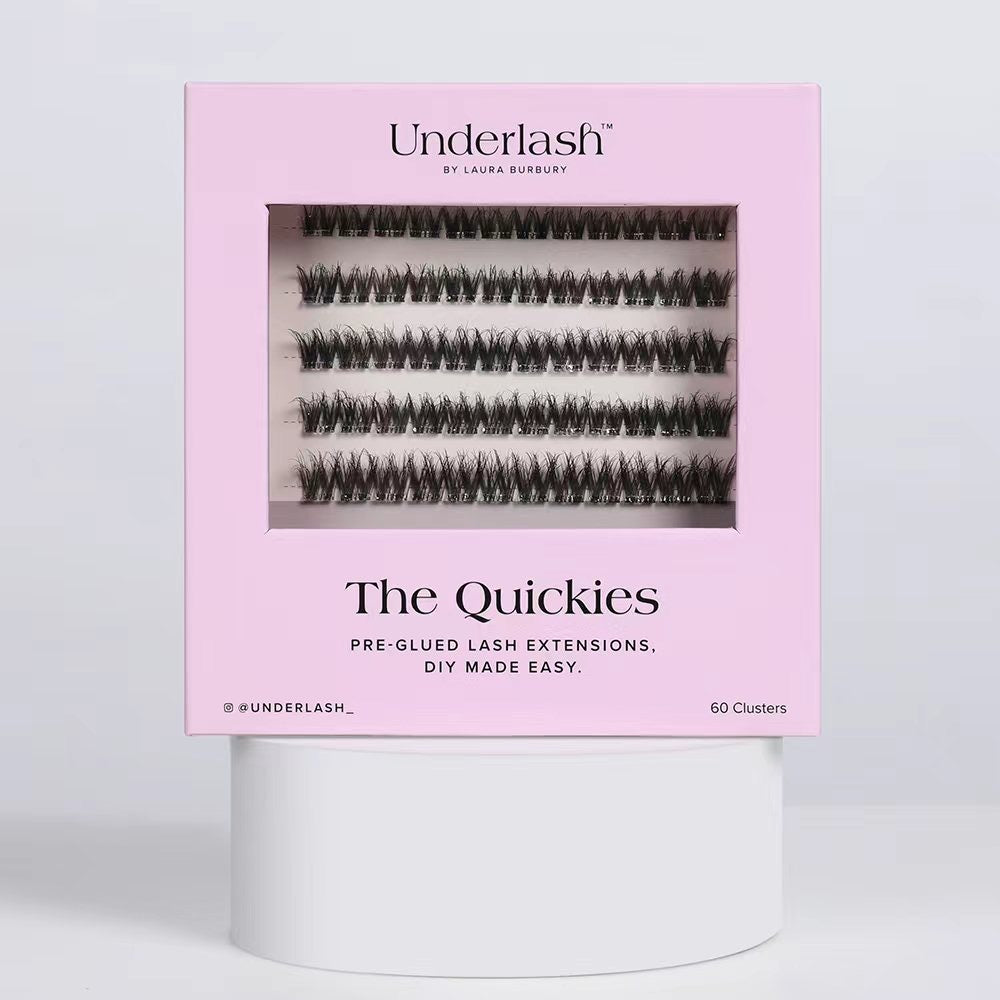
Be prepared before you start. Have your Underlash Kit ready. We recommend using at least 2 different lengths to achieve a natural look.
We also recommended cutting segments ready about 2 cm long with the scissor.
Have baby wipes handy to wipe your applicator in between applying the segments.
STEP 1: Prep the lashes by cleaning away any residual makeup or oil. You want clean, dry lashes as your base.
STEP 2: Curl your natural lashes with The Curler. The unique comb attachment will separate each lash, ensuring they curl and don't twist.
STEP 3: Ensure excess product is removed from the brush head before applying, then take The Bond to your first eye. Using only a small amount, dab the mascara wand from the root of the lash up to approximately halfway. Do not apply through out the lash like a mascara.
If you want a longer, stronger hold, wait 30 seconds then apply a second layer in the same way. Wait for a further 30 seconds.
STEP 4: Pick lash section up with The Applicator and gently pull the eyelid up, so you have a clear view of under the lash. Apply lashes 1mm from the lash line. Avoid getting too close to the eye itself as this will cause irritation. Once you are happy with your lash placement, clamp the lashes using The Applicator.
STEP 5: As a final step, apply The Seal to the base of the lash (where The Bond was first placed). Follow with one final use of The applicator, pinching the lashes together for 10 seconds before releasing.
REPEAT on the other side. 5 minutes. 5 steps.