How To Stack Your DIY Eyelash Extensions With Underlash.
At-Home Lash Extensions: Master the Art of Lash Stacking with Underlash by Laura Burbury™
Are you eager to elevate your lash game from the comfort of your home? Lash stacking is the key to achieving captivating volume lashes that look like hybrid salon lash extensions, and with Underlash lashes, it's simpler than you might imagine!
What is lash stacking?
Discover the fascinating history of false lashes, dating back to 1911 when the first strip lash was released. These early falsies made of fabric and synthetic hairs were originally used in Hollywood to give starlets a doe-eyed, innocent appearance. Over time, the lash industry evolved, leading to the innovative and thriving field we have today, empowering millions worldwide to enhance their natural beauty.
Lash technology has come a long way since those early days, offering safer and more advanced products. Among these innovations, lash extensions and stacking have become popular techniques.
But what exactly is lash stacking?
In essence, lash stacking involves layering thin lash fibres in a fanned-out manner across your eyes to achieve more volume, length, and glamorous allure. This technique allows you to maintain your preferred lash styles and looks, regardless of the type of lash you use.
Imagine you have had your favorite lashes on and its coming up to the weekend, you want a little more of a hybrid lash extension look then you need to learn how to Stack your Underlash lashes!!
With a simple lash map and the right lash lengths, the possibilities for stunning outcomes are limitless. So, without further ado, let's delve into the steps to achieve that perfectly desirable result every time.
Lash Stacking Basics:
As you venture into the art of lash stacking, remember that you are the artist, and experimentation is key. Feel free to try out different ideas and techniques. You can stack the Natural lash ontop of The iconic lash or vice versa, there is no rules just try and experiment but I would recommend stacking with just a longer length and cutting the section size smaller than your original row of lashes. You can even stack your Underlash lashes under a classic strip lash for added volume.
Follow our step-by-step tutorial to become a pro at lash stacking with Underlash, and get ready to flaunt those fabulous, voluminous lashes.
What You'll Need
Before we delve into the tutorial, ensure you have these essential tools and supplies ready:
-
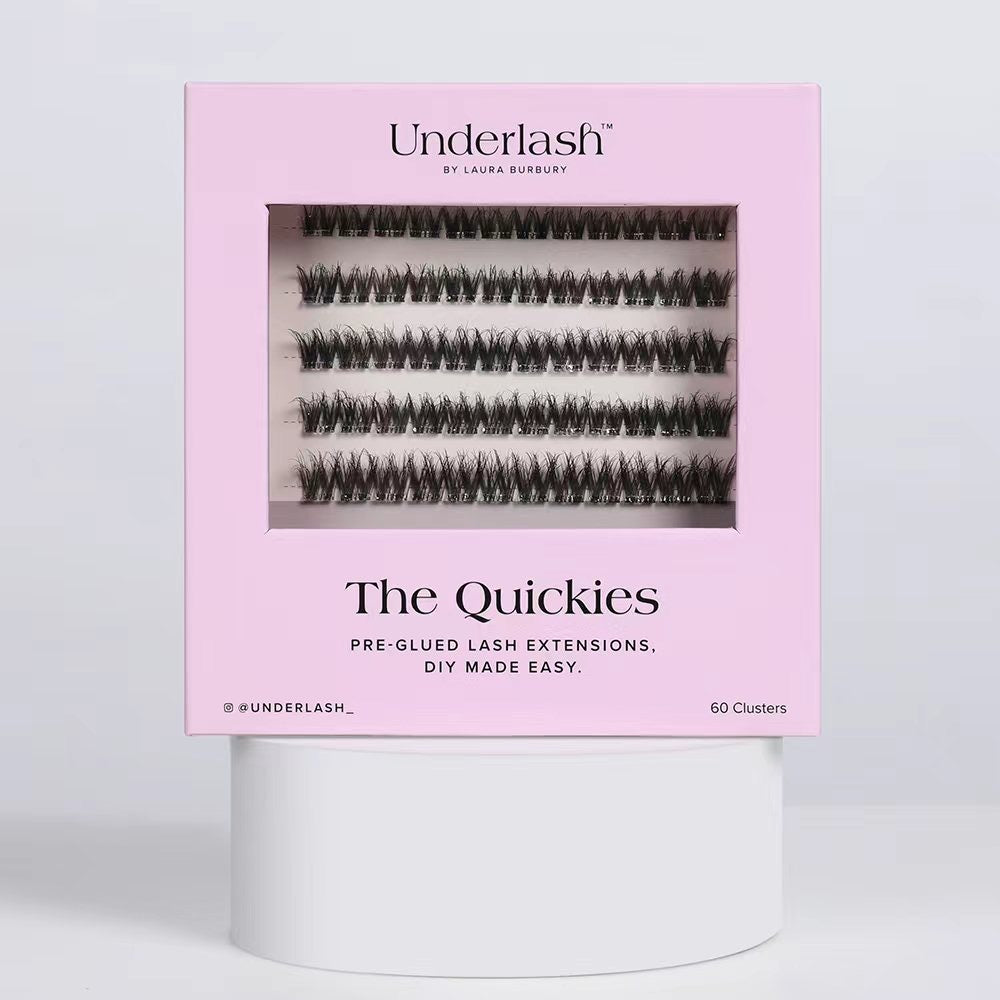
Underlash Lash ribbons in your preferred style. ( I like my first layer to be Mood lashes in 10/12mm and stack with Natural lashes in length 14mm)
-
The Bond & The seal.
-
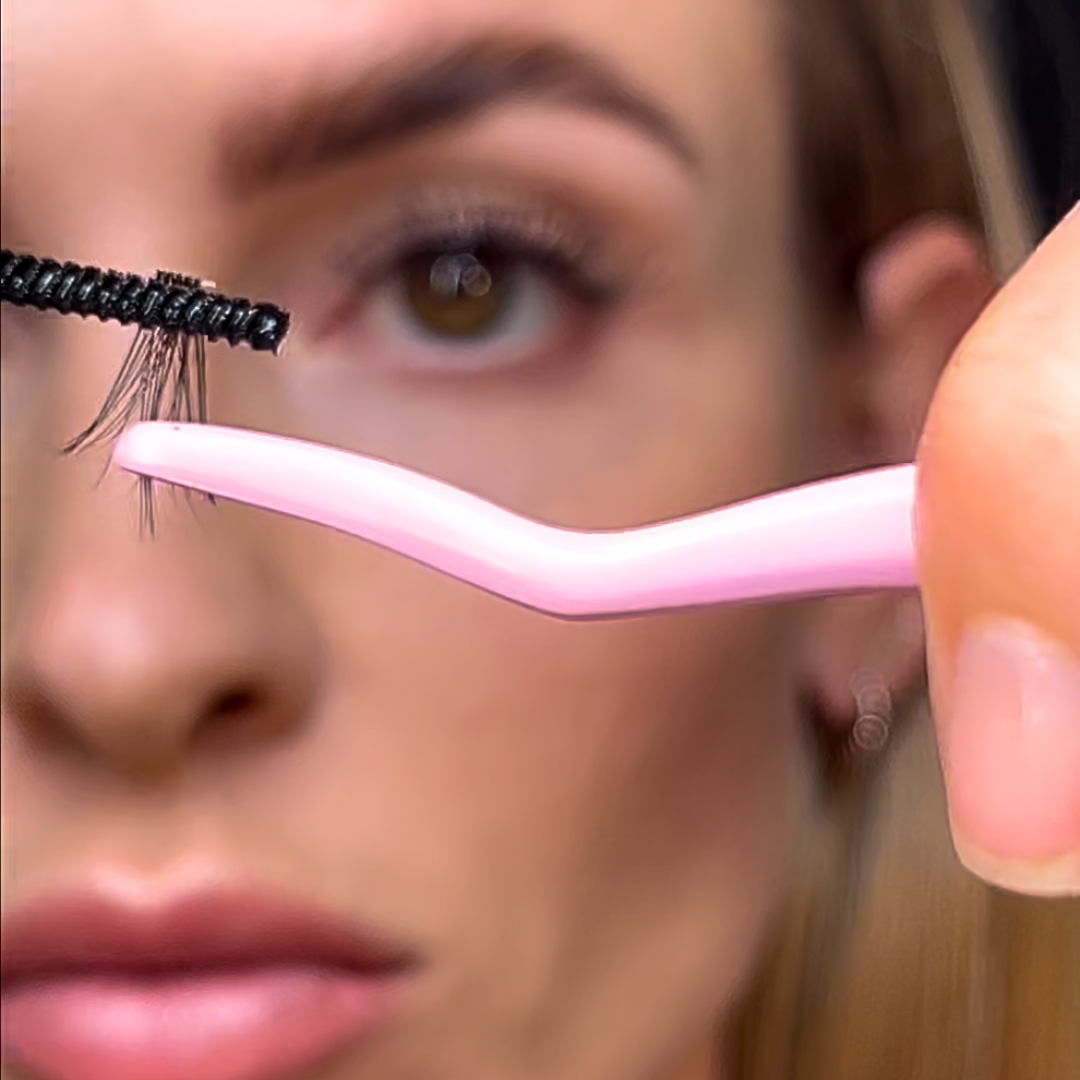
The Applicator
-
The Curler
-
Scissors